Organizing your entire house is an exciting and rewarding venture, but it isn’t always easy. If your home feels overwhelmed with clutter, you might struggle to figure out where to start. Breaking down the project into smaller tasks can make it feel more manageable. Here are nine steps to organizing every room in your house:
1. Identify The Purpose Of Each Room
When tackling a major organization project, it can be helpful to start with the end in mind. Before organizing or decluttering anything, assess the true purpose and function of every room in your home. In some ways, the purpose of certain rooms is obvious. Your kitchen is for cooking, and your bedroom is for sleeping. However, you can probably also identify plenty of other uses for each room. Do your kids do their homework at the dining room table? Does your home office double as storage space?
Understanding the function of each room will make it much easier to decide where items belong. If your kitchen is also a workspace for your children or yourself, it makes sense to keep extra paper and pencils in one of the drawers. If you work on craft projects in the living room, you could dedicate a storage ottoman to your craft supplies.
2. Take Everything Out
This step can be one of the most overwhelming parts of your organization project, but it can also be the most motivating. If you want to fully organize and declutter your home, you have to take every single item out of its storage space. In each room, lay your belongings out on the floor, table, or bed..
Taking every item out and laying it in front of you serves several purposes. First, it provides access to all of your storage spaces so that you can deep clean them. Additionally, seeing all of your possessions in one pile can help you assess what you need and don’t need. You might not realize how many duplicates or unneeded items you have until you see them all grouped together. When you take everything out of its home, you force yourself to acknowledge and evaluate each and every item you own.
3. Get Rid Of Unneeded Items
Purging unneeded items is one of the most important steps when organizing. If your home feels cluttered, you almost certainly have too many belongings. Consider getting rid of duplicate items or items you haven’t used in over a year. Be honest with yourself about whether or not you truly need something.
There are plenty of ways to get rid of unneeded possessions. Giving items to family or friends is a great way to downsize. You could also try selling clothes, books, furniture, and other items online or at a yard sale. Thrift stores will accept gently used items, too.
4. Relocate Items
Once you’ve gotten rid of everything you don’t need, it’s time to assess the belongings you’re keeping. Consider which room each item truly belongs in. This is why identifying the function of every space in your home is so important. You might be keeping items in your bedroom closet that should actually be stored in your guest room, kitchen, or attic. Focus on what’s functional and practical for your family’s unique needs, not on preconceived ideas about which items should be kept in which rooms.
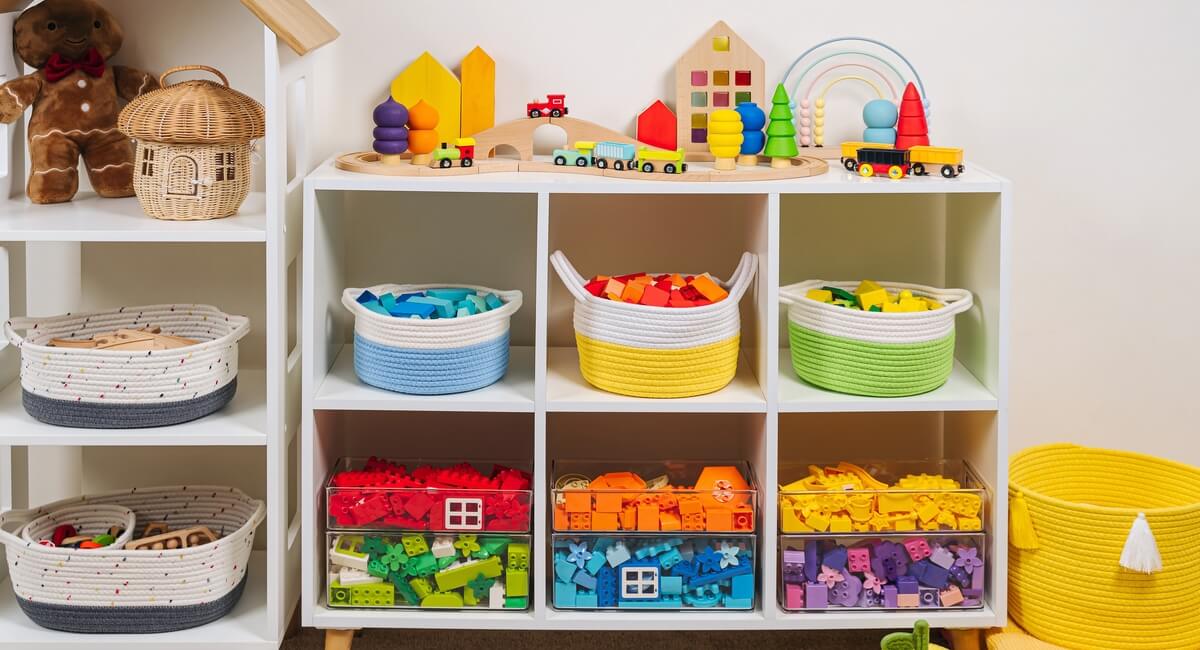
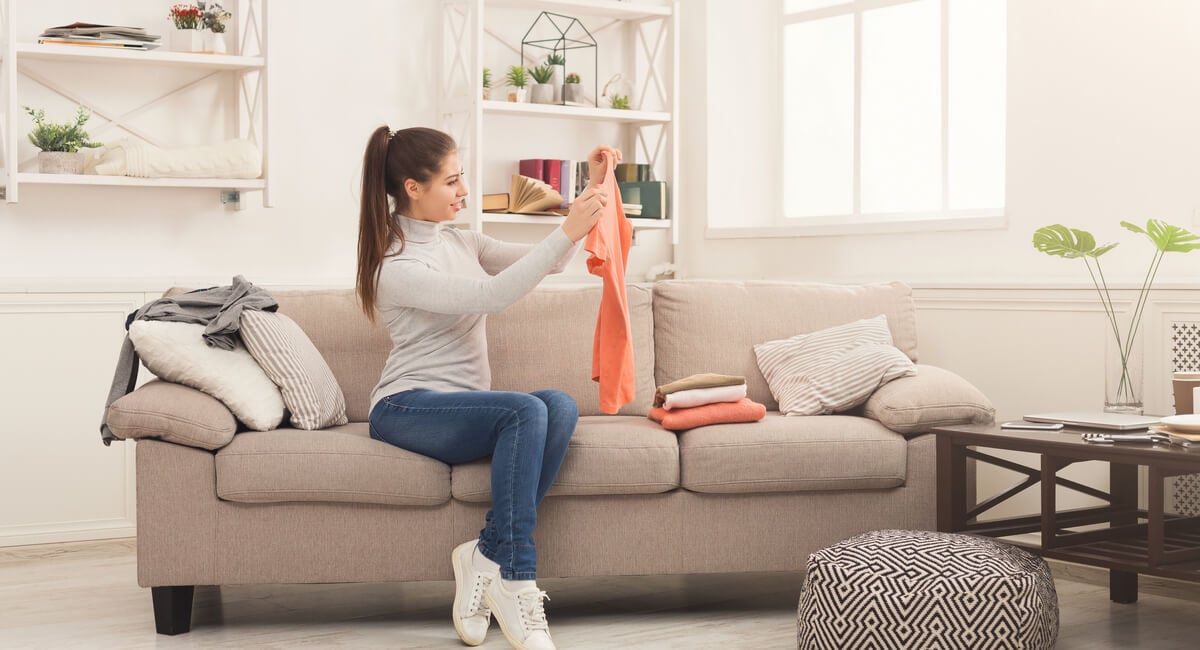
5. Group Similar Items Together
When every item has been assigned to its correct room, you can start grouping similar items together. Create piles of like items throughout each room so you can begin to visualize how you’ll organize them. For example, you could place all the cleaning supplies together in the bathroom or create a pile of spices in the kitchen. Now, you can start assessing how much storage space you’ll need for each grouping. This is also an opportunity to double-check that you’re not holding onto any duplicates or unnecessary items.
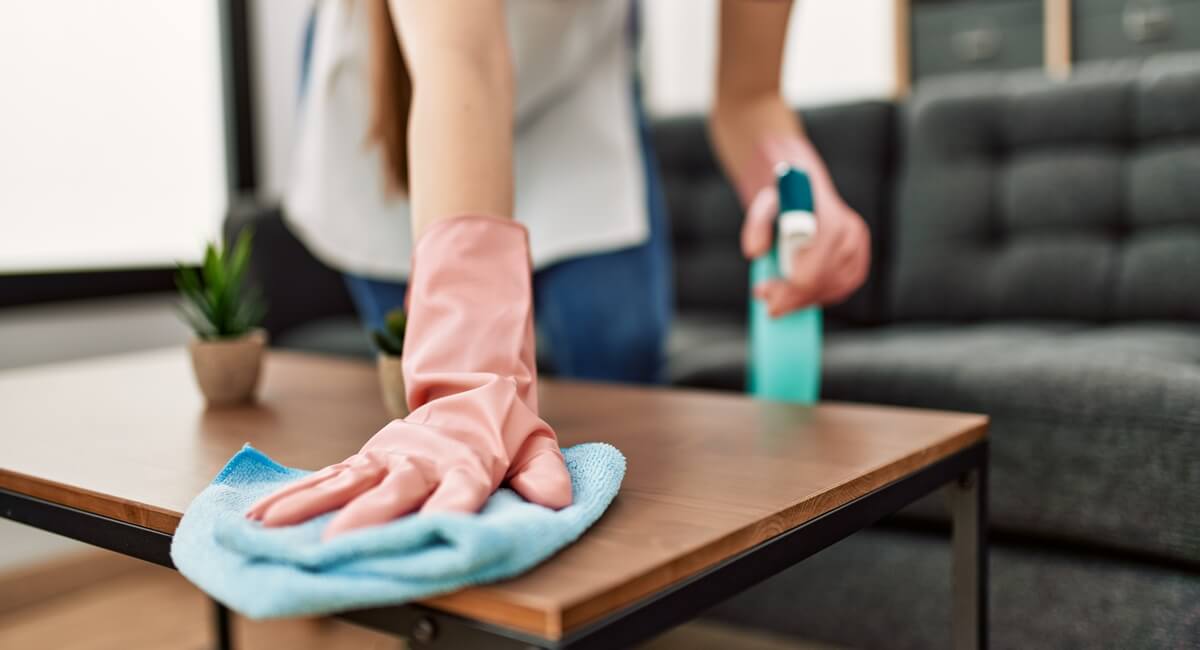
6. Deep Clean Each Room
Deep cleaning is one of the most satisfying steps in an organization project. If you’re in the process of decluttering your home, you might as well deep clean at the same time. Before you start putting items back in their homes, thoroughly clean every storage space.
In your closets, you can mop or vacuum the floors, wipe down the walls, and dust the shelves. You should also wash the shelves and drawers in your kitchen cabinets. The amount of dust, dirt, or food debris that accumulates in kitchen storage areas can be frightening.
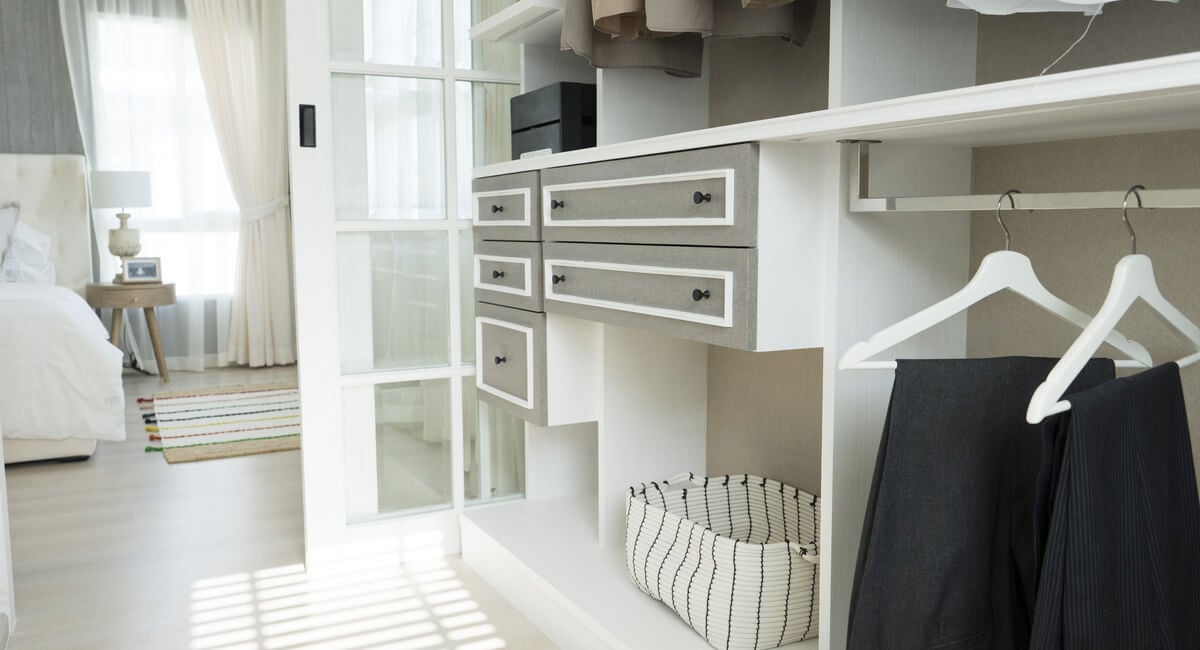
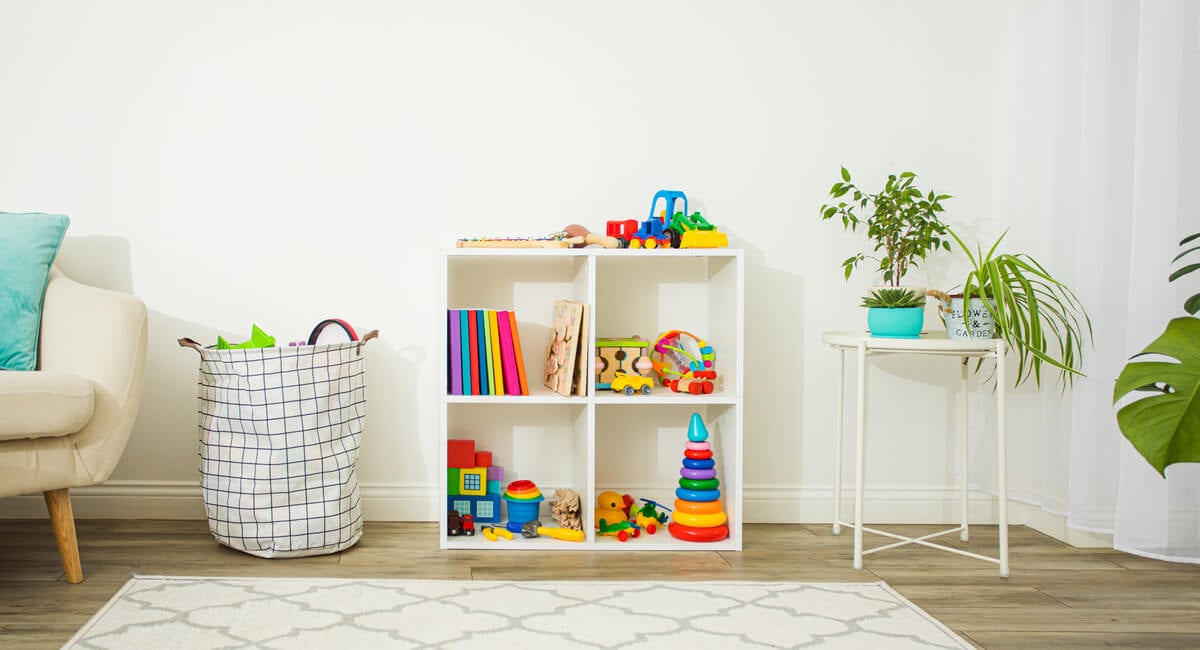
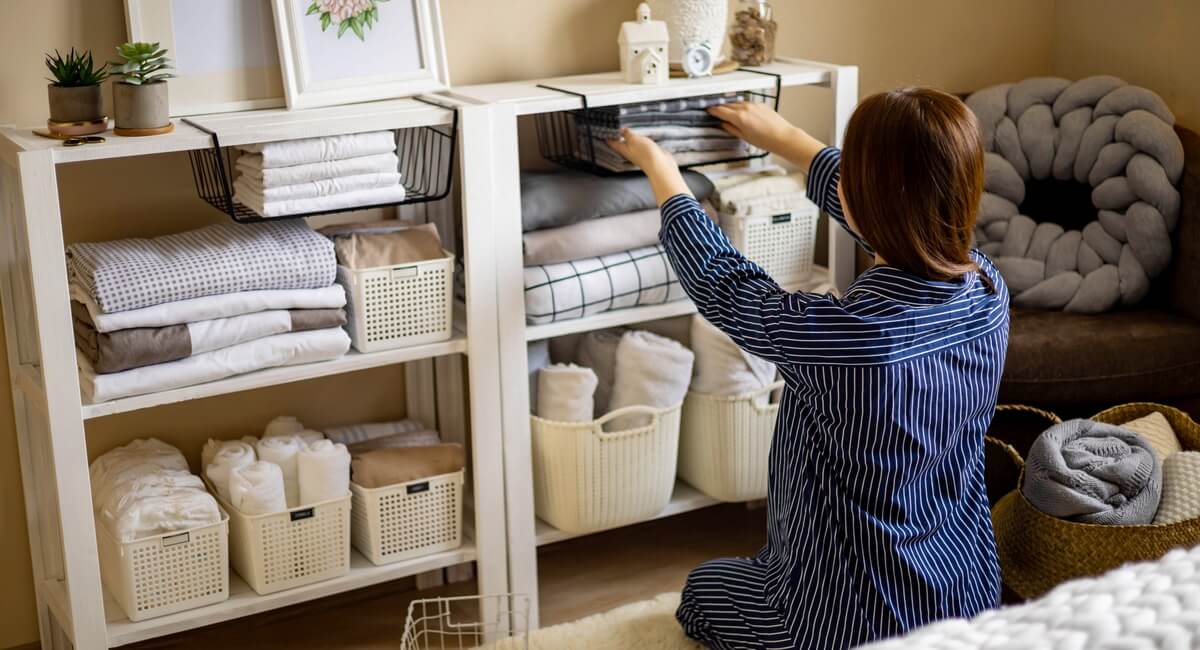
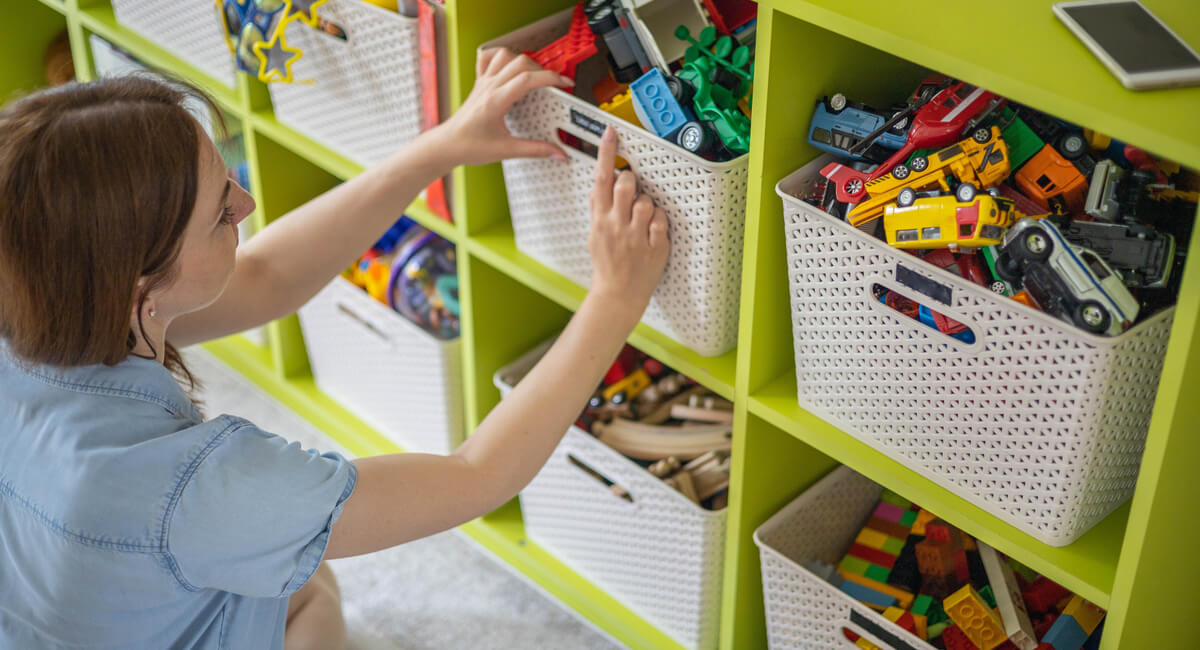
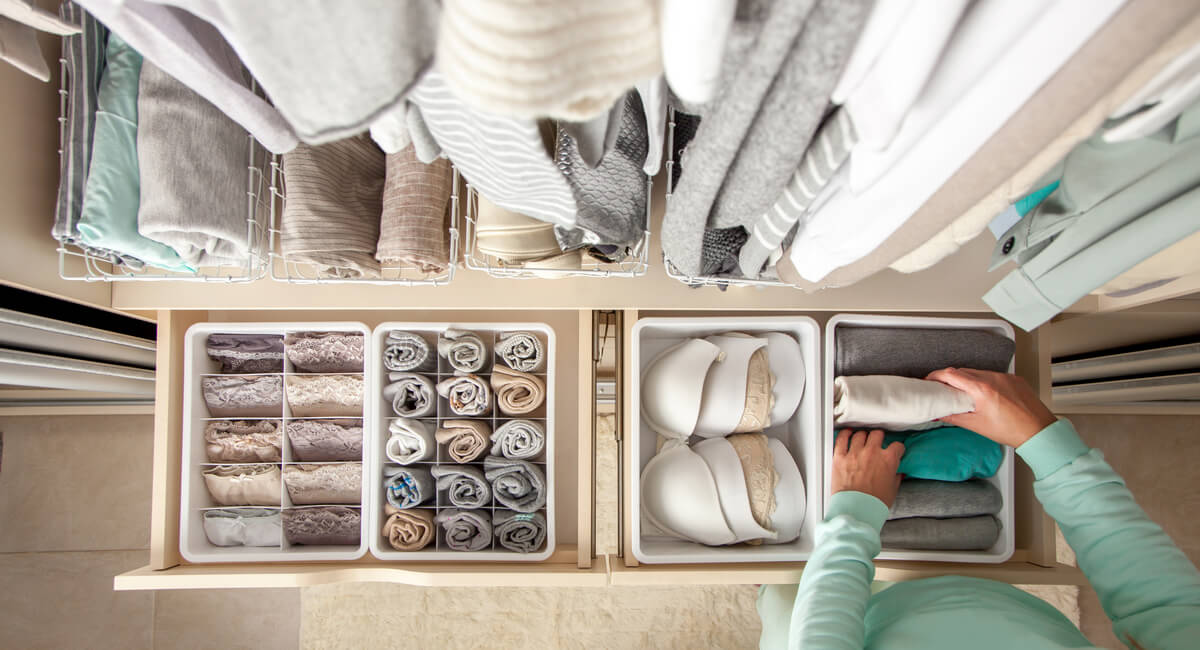
7. Create An Organizational System
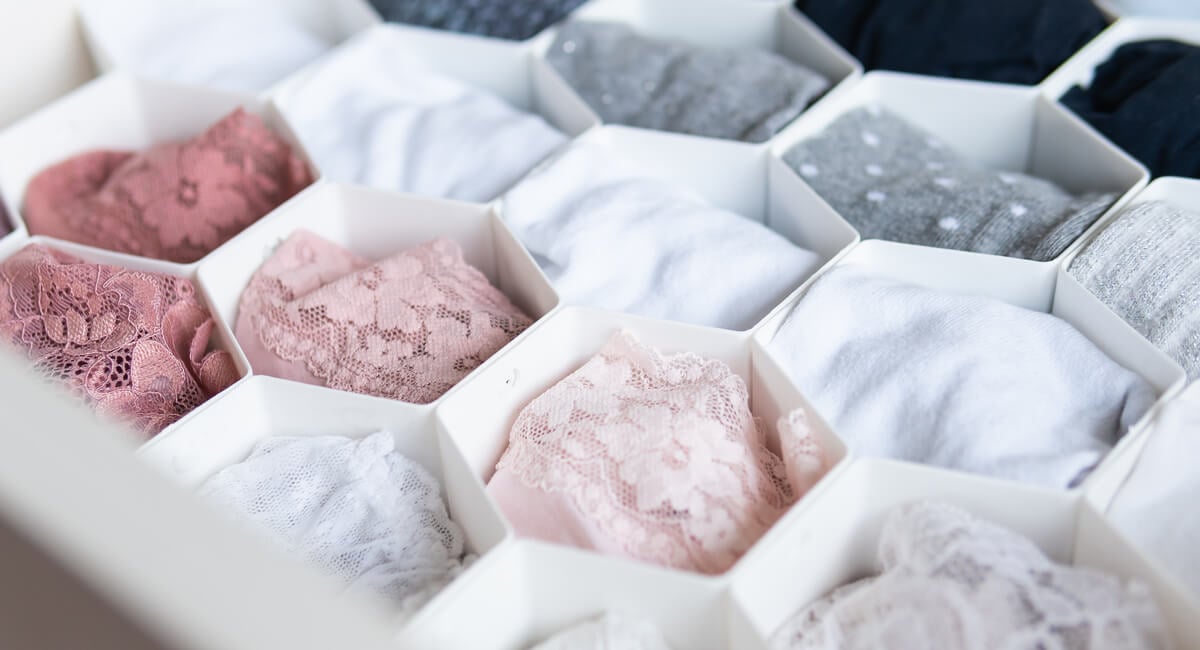
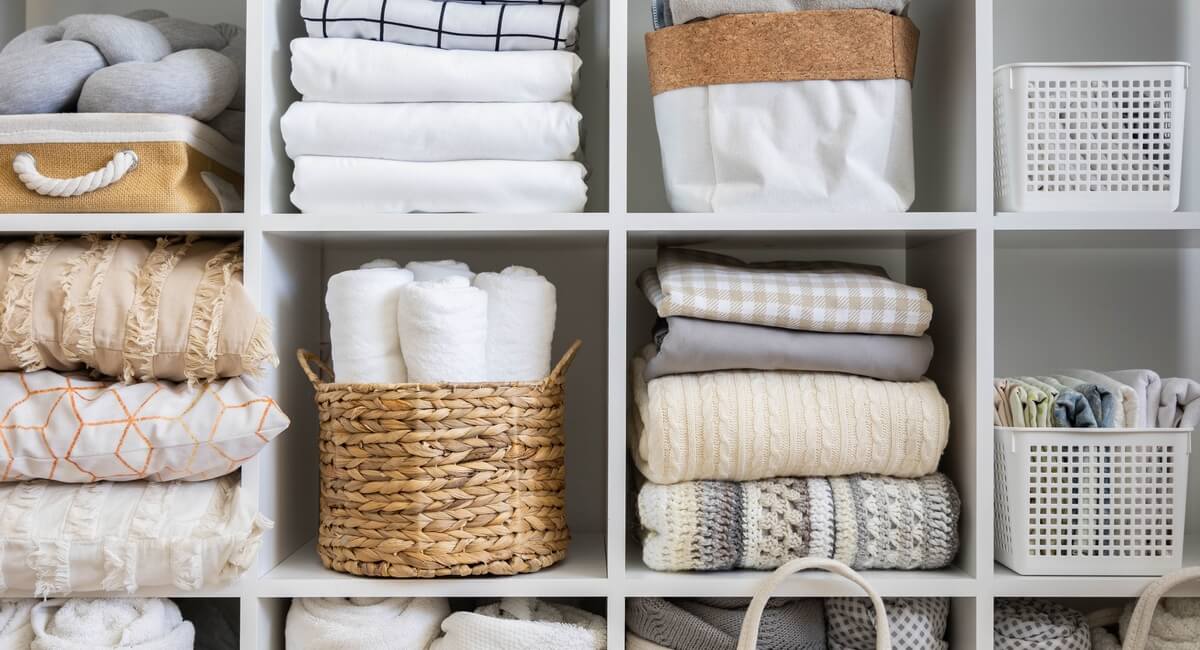
As you organize and store away your belongings, you should create a thoughtful organizational system. Think about what’s practical and functional for you. Some people find it highly motivating to use pretty matching baskets and detailed labels to organize their belongings. Others are less interested in aesthetics and prefer to stick to simple, clear storage bins. What’s most important is that you find a system that’s easy for you to maintain.
Focus on putting your most frequently used items in accessible spaces. For example, if you use your blender every day, it shouldn’t live on a high shelf that’s difficult to reach. However, you may be able to store certain cleaning products in the back of your bathroom cupboard if you only use them once per month.
If you’re struggling to find a home for all of your belongings, try to increase your vertical storage space. Consider purchasing an over-the-toilet shelving unit for extra bathroom storage. In your kitchen, you could install a rack above the island to hang pots and pans. Doors can also provide valuable storage space. You could install a shoe rack or hooks for coats and bags, or you could purchase an over-the-door pantry organizer for spices or canned goods.
8. Maintain Your Organization
When you’ve successfully sorted and organized all of your belongings, your next task is to maintain your system. Do your best to put items back in their home as soon as you’re done using them. Before you go to sleep, take five minutes to tidy up. If necessary, write reminders to yourself on sticky notes to put items away.
You should also be mindful of the new items you’re bringing into your home. If you accumulate too many new belongings, your organizational system will start to collapse. Whenever possible, try to get rid of at least one item when you purchase something new.
9. Change What Isn’t Working
As you work to maintain your system of organization, you’ll probably find that certain things don’t work as well as you’d hoped. Maybe the way you organized your canned goods in the pantry isn’t functional, or maybe you don’t like how your office supplies are stored. Once your home is organized, maintaining it shouldn’t take an intense amount of work. Allow yourself to adjust your system as you discover what is and isn’t helping.
Organizing your entire home is a major project, but it will save you a great deal of time, energy, and stress in the future. When all of your belongings have a designated space and you know exactly where to find everything, navigating your day-to-day life becomes much easier. Declutter as much as you can, focus on what’s practical for you and your family, and make maintaining your system a daily habit.